How to install watchfaces (Honor Band 5, Huawei Watch GT/GT 2)
Posted: 01 Nov 2019, 13:38
- Create Chinese Huawei ID
- Download and install Beta version Huawei Health
- Pair your phone with your Honor Band 5 or Huawei Watch GT
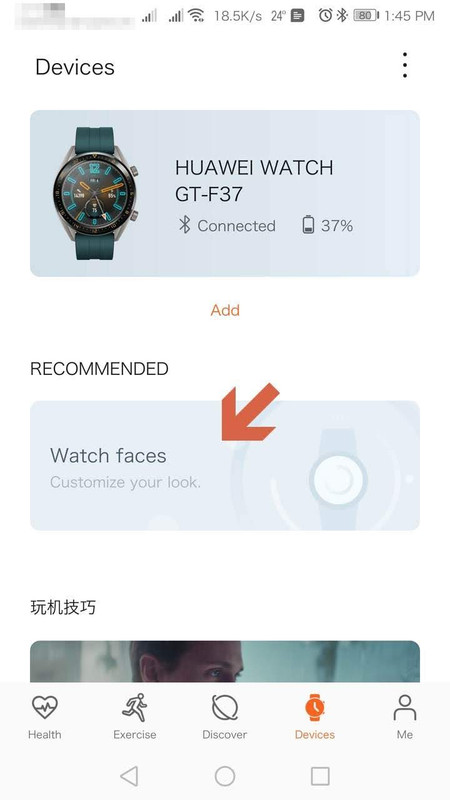
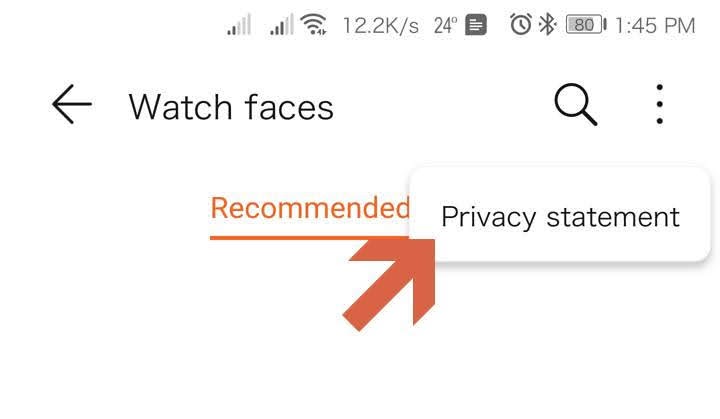
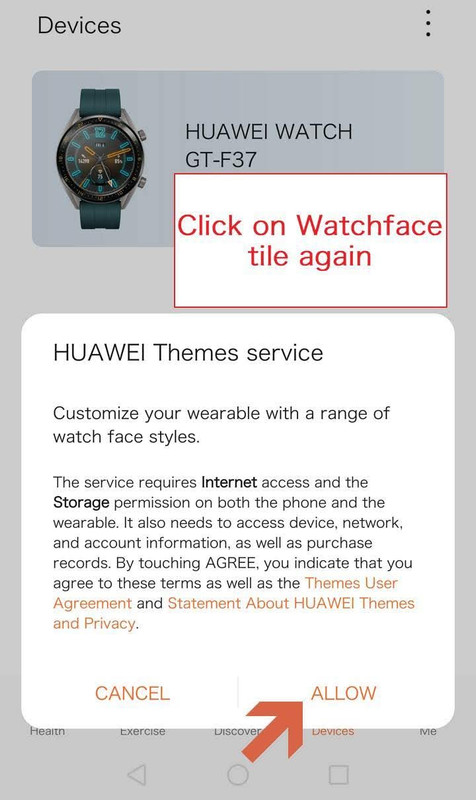
- Go to "Watch faces", disable Themes service and set phone language to English
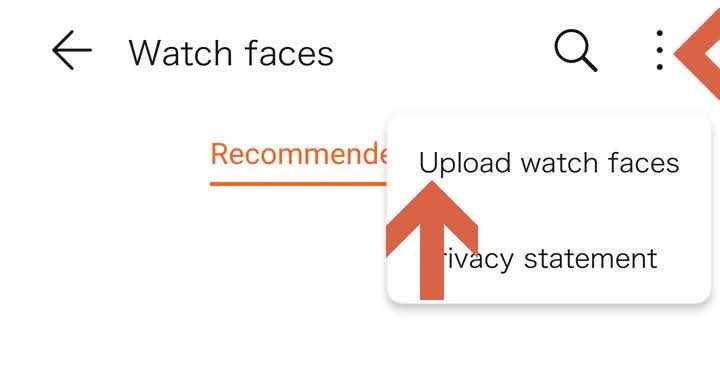
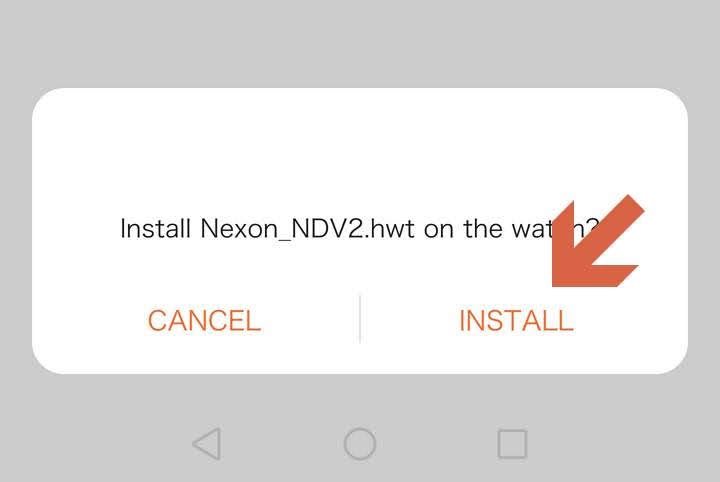
- Once again go to "Watch faces", enable Themes service and upload your custom Watchface (.hwt file)
videos
Broadly there are two steps:
- Getting a Chinese ID from Huawei site
ID created on Huawei with location is China. Changing the location of old id won't work, don't waste your time - Installing the Huawei Health Wear Beta App
(currently, supported version is 10.0.1.21)
Steps to create Chinese Huawei ID:
Screenshots
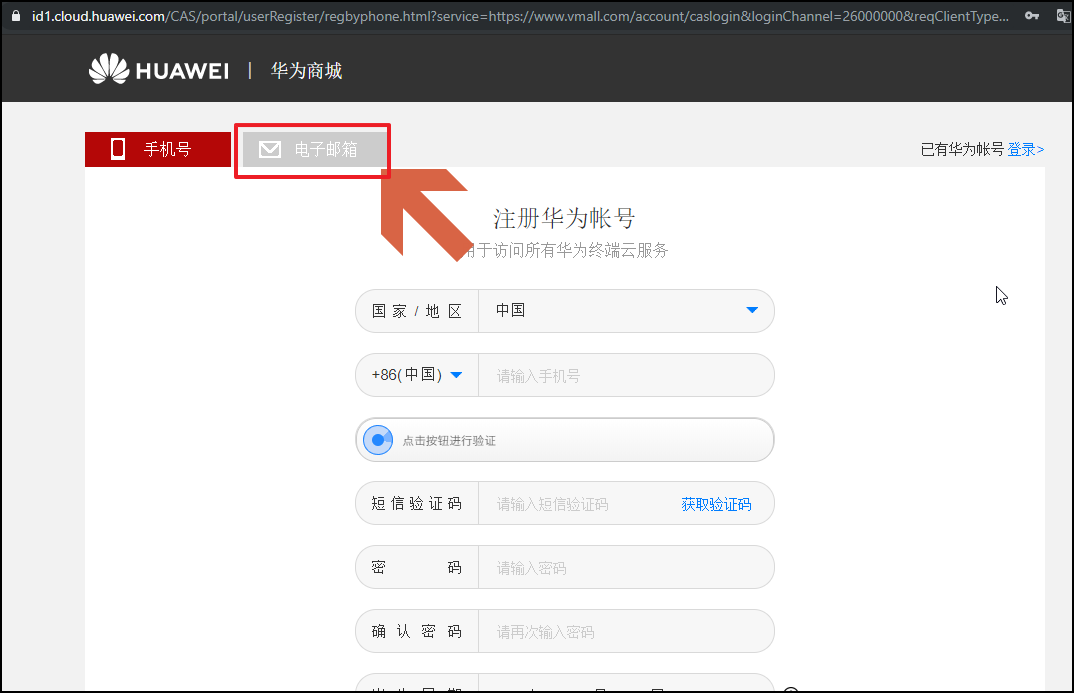

- Open this URL. Select the second tab as shown.
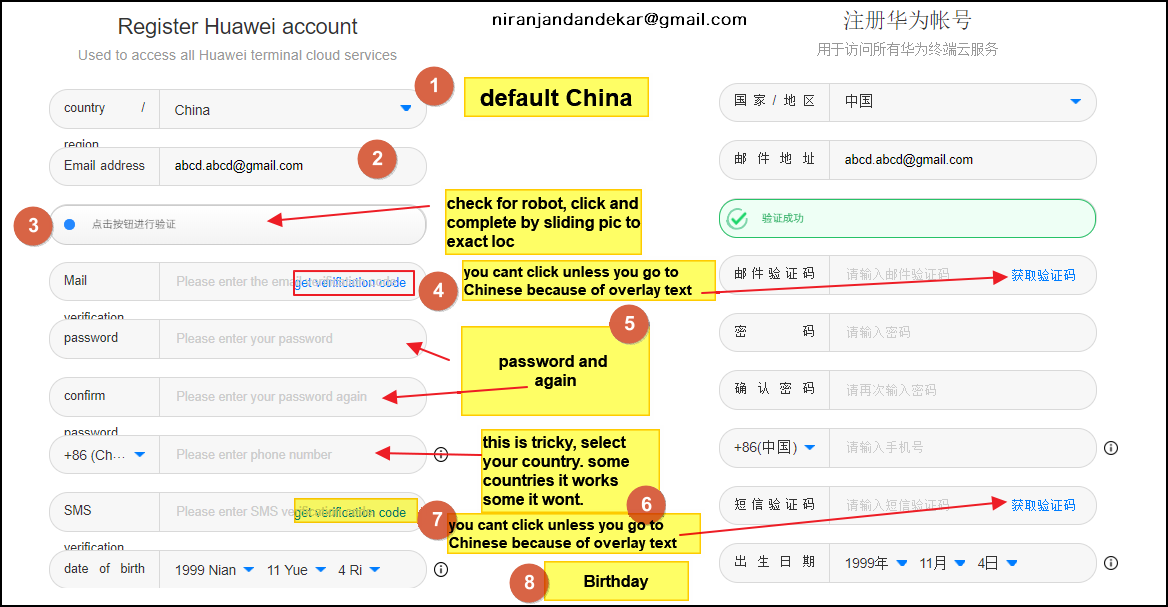
Don't Change/translate the language of the webpage refer to this screenshot.Or keep translating and non-translating this page (why is below) Or change to English or as per preference and select China and back to Chinese. - Provide Valid Email ID and Verify the Email by clicking on "Obtain verification Code" (you cant click this unless you are in the Chinese language because of overlay text).
- Complete slide action by clicking here. You have to slide the tile to match the empty tile area.
- As Phone number is mandatory to provide a valid phone number and verify you can try your country. This is where the problem comes sometimes, some countries it works and for some countries, it won't. Maybe because of rates or something. Same way like email, get verification code on SMS and you are thru to final steps in creating a Chinese id.
- Enter details and complete form, Click on register
- Put the Mobile in the Airplane Mode.
- Connect to the Wifi and turn on the Bluetooth
- Download Huawei ID Service app from the Playstore, this is needed if you dont hv Huawei/ honor phone.
- Download HealthBeta app (10.0.1.21) and Install it.
- Open the app and select the country as China.
- Login to the app using the credentials created in part 1 above.
Screenshots


- Open Wear beta app and follow below. Some users say you have to go to Airplane mode and again turn on the Wifi and Bluetooth and follow the same process below. For me it works without going to airplane mode.
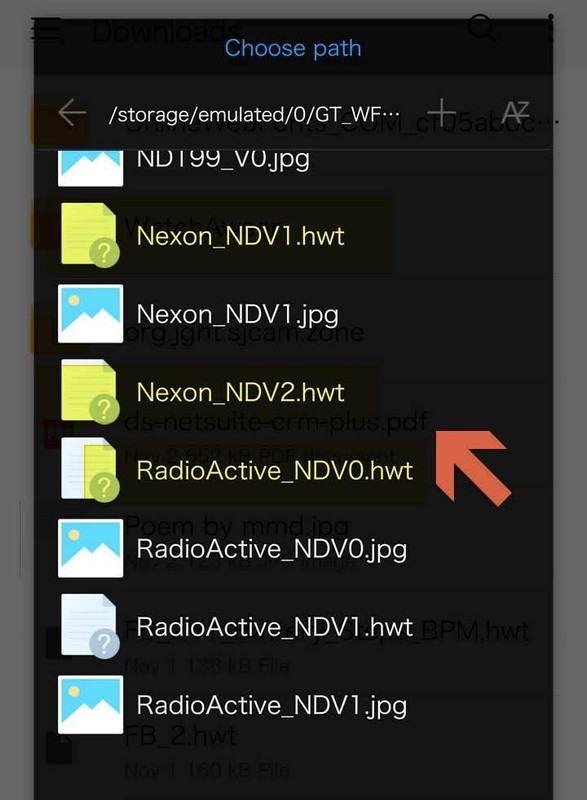
- Prerequisite: Download the hwt you want to install. Keep it in a separate folder and not download. If you try from download folder, it does not work.
- As per latest update before opening health beta disable data (internet and Mobile)
Once you are on devices tab, enable data. Enjoy the amoled screen and variety of custom watch faces.
Method 2
1. install virtalxposed application
2. Install huawei health from the market or 10xxx beta
3. install huawei mobile services
4. install watchfaceenabler.apk
Launch VirtualXposed - add Health + MobileServices + watchfaceenabler to it.
Manage / enable watchface enabler in virtualxposed
“Restart” virtualxposed (from the menu - restart)
Run HuaweiHealth in virtual exposure ...
Set faces
Download everything you need